ChromeOS and Android are often mentioned in the same breath, which has a lot to do with them both being part of Google’s vast mobile and digital ecosystem. But while they share common DNA, including access to the Google Play Store and integration with services like Gmail, Google Drive, and Google Assistant, when you go beyond those basics, the two start to go their separate ways. While it’s true that the two can both run Android apps and have some things in common behind the scenes technology-wise, they’re built for different tasks, look different, and work in very different ways.
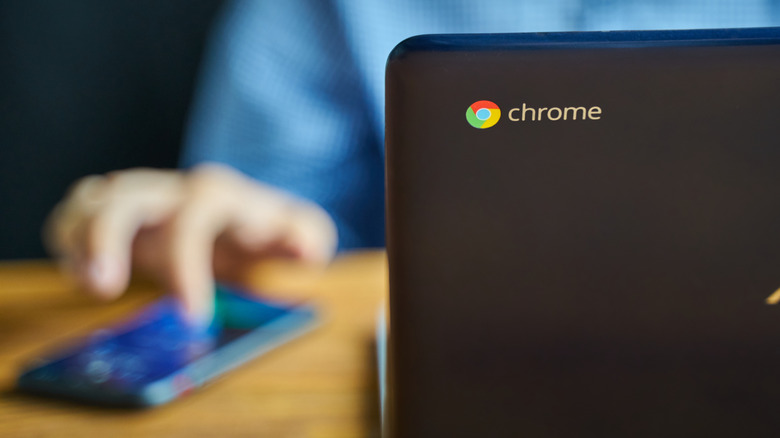
If you own or have ever used a budget-friendly laptop like the Acer Chromebook Plus 515, you’re familiar with Google’s lightweight ChromeOS operating system. Unlike Windows and macOS, ChromeOS is a cloud-based operating system that emphasizes the use of web applications and services, with Google’s unique Chrome browser acting as its primary interface. In contrast, Android is an operating system designed for mobile devices. All of that tapping, swiping, and pinching you do on your non-Apple smartphone or tablet, Android makes it possible.
What’s important to keep in mind is that these differences aren’t just technical; they affect how each system fits into your daily life. ChromeOS is built for getting things done on a laptop, while Android is made for using your phone or tablet with taps and swipes. While it might seem like these systems could be interchangeable, they’re built for different types of devices, and for most people, there’s really no good reason to use ChromeOS on a phone or Android on a laptop.
>>>AA-PBQN4TR Battery for Samsung Galaxy Chromebook 2 XE530Q
ChromeOS is built for productivity and cloud-first computing
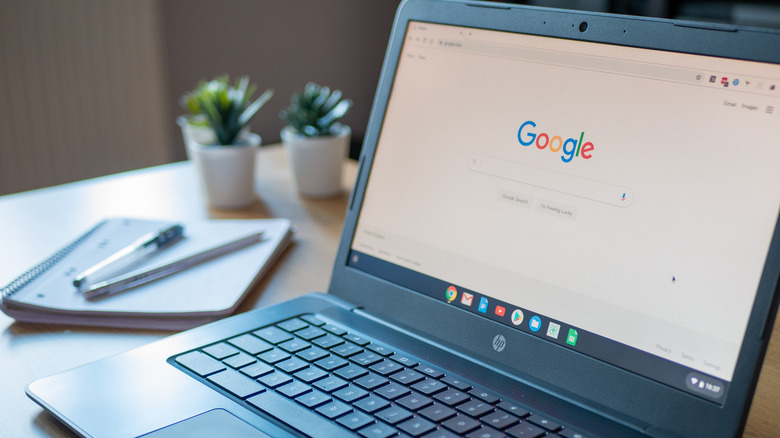
Using ChromeOS for the first time takes a little bit of getting used to because it doesn’t work like traditional operating systems, which rely on programs the user has to install and traditional file systems. Instead, ChromeOS is built around the Chrome browser, which means that as the user, you can get everything done using web apps and store most of your work in the cloud. With ChromeOS, you can download Android apps from the Google Play Store, and on many Chromebooks, you can even run Linux apps, something that gives users a lot of choice when it comes time to get things done.
The design of ChromeOS makes it an especially good match for those whose primary work involves document editing, web browsing, and other productivity activities. ChromeOS’ simplicity is what sets it apart from other operating systems and makes it a favorite in schools and among those looking for an inexpensive laptop that’s easy to use and doesn’t come with a bunch of unnecessary extras.
Google’s cloud is an integral part of the ChromeOS setup and makes it easy for users to access their files and applications from any device with an internet connection. ChromeOS includes built-in access to Google Workspace tools like Docs, Sheets, and Slides. While these apps are also available in any browser, ChromeOS offers tighter integration and native offline support that can make them easier to use on a Chromebook. All of these things are what make ChromeOS a better fit for users who need a simple, secure laptop for everyday tasks.
>>>C21N2003 Battery for Asus Chromebook Flip CM3 CM3200 CM3200FVA
Android is tailored for touch-centric mobile devices
Even if your primary smartphone is a non-Android model, like the Apple iPhone 16e, chances are you’re at least somewhat familiar with Android and have used an Android-based device a few times. Unlike ChromeOS, which was developed for use with computers, Android is an operating system designed for smartphones and tablets. So it’s not too surprising that its interface is optimized for touch-based interaction, and it comes with many customization options. Android supports a wide range of apps available through the Google Play Store, covering everything from communication to entertainment.
While there’s no arguing that Android devices do excel when it comes to portability and app diversity, you may find them lacking when compared with the productivity features that ChromeOS offers. For example, Android’s file management and multitasking capabilities don’t come close to the desktop-like environment on ChromeOS devices. That doesn’t make Android worse; it’s just that Android prioritizes different things.
>>>AA-PBRN4TR Battery for Samsung Galaxy Chromebook XE930QCA
Since it was designed with mobile devices in mind, it focuses on the intuitive touch interactions that make smartphones and tablets so easy to use. This is what makes Android ideal for on-the-go use, casual entertainment, and communication on smaller touch-based devices. On the other hand, ChromeOS looks and feels more like a traditional computer, with a taskbar and the ability to open apps in separate windows, which can make it easier to get work done.
 Sony WH-1000XM6